How To Set Up a Printer to Print on Custom Paper Sizes.
by Chelsea Camper | Last Updated June 15, 2018You’re not going to always be printing on standard sizes of paper when printing your own. Sometimes you’ll be printing on 4×6″ postcards or 6.25×11″ Every Door Direct Mailers.
All types of printers will be different and there can even be differences between two similar printers from the same manufacturer. So instead of trying to list every printer imaginable, this post will focus on a few printers we use here regularly. Once you have a general idea of how to go about it, you should be able to get your printer to work with custom paper sizes.
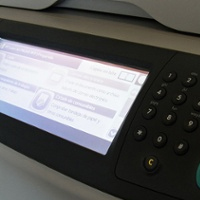
Below are examples of an HP Officejet 6500, 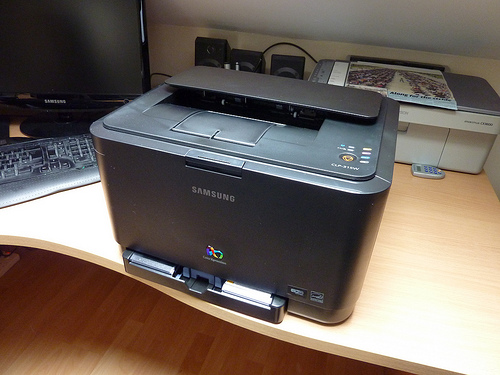 Brother MFC-J6710DW, and a Ricoh CL4000DN.
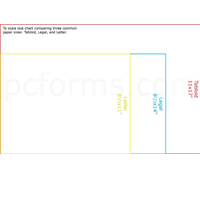
1. Gather Your Measurements for the Custom Paper Size.
Our first step will be to make sure we have the right measurements. Measure twice, print once. (;
2. Open the Document to Be Printed and Open the Print Dialogue Box.
Once your file is open you can enter the Print Dialogue by going to File > Print or by using the keyboard short cut “ctrl + P”. Here you can choose your printer. The dialogue box will refresh with new information every time you change the selected printer.
3. Click on the Properties Button.
Click the Properties button beside the printer name to enter its more advanced settings.
4. Find the Custom Paper Option and Set Size.
This is where printers will start to vary. Some will have a nice big Custom Size button like our Ricoh does and some will be at the bottom of a drop down like our HP is. We’ll split this step in to three smaller bits to go over the process for each of the three printers we’re looking at in this post.
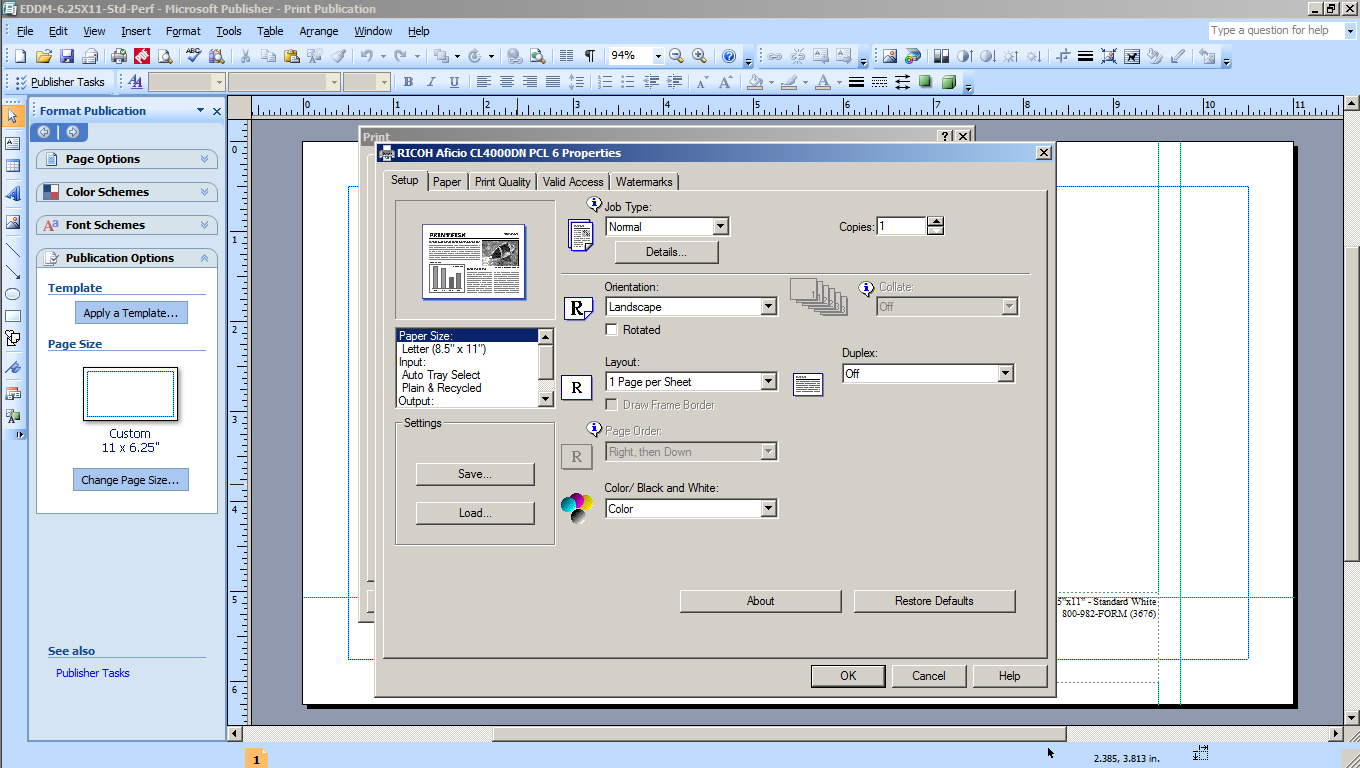
4a. Ricoh Aficio CL4000DN
4a1. Properties Home Screen.
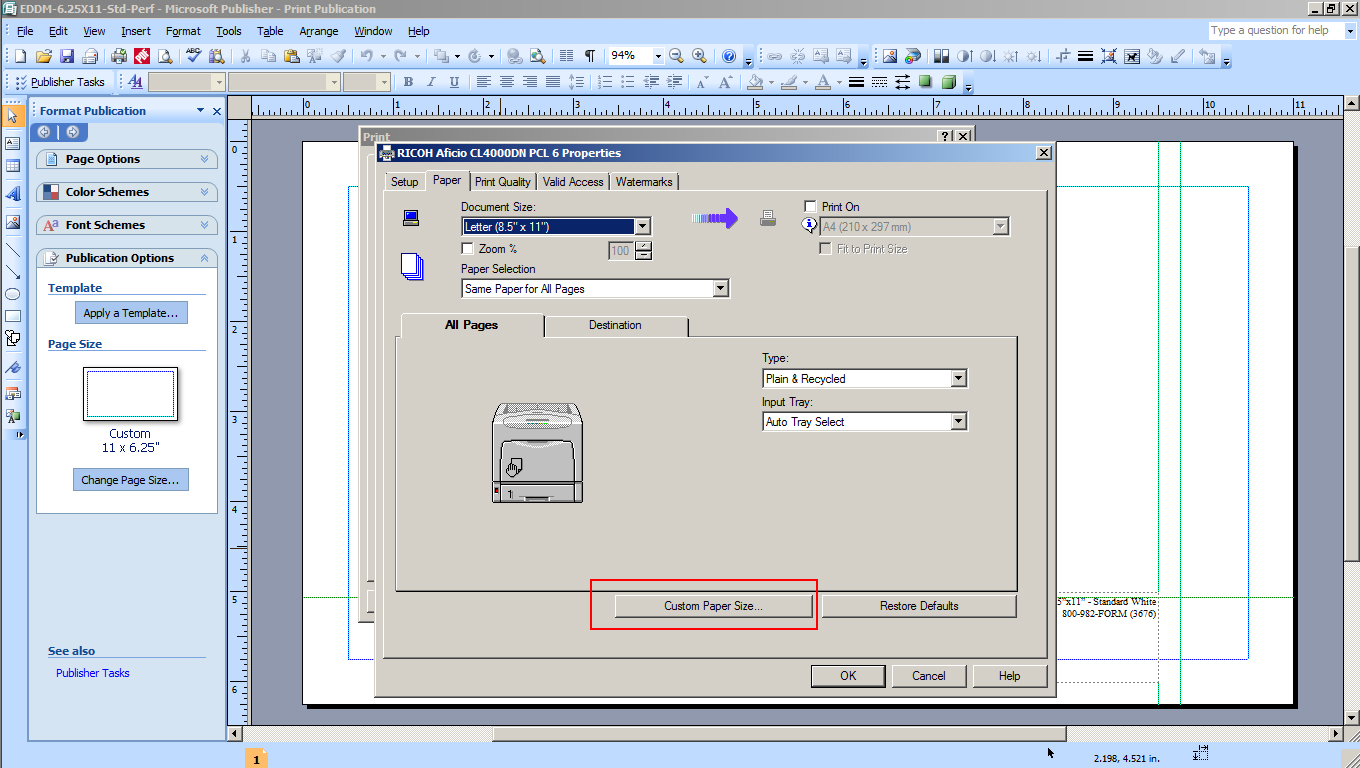
4a2. Go to the Paper Tab and Click the Custom Size Button.
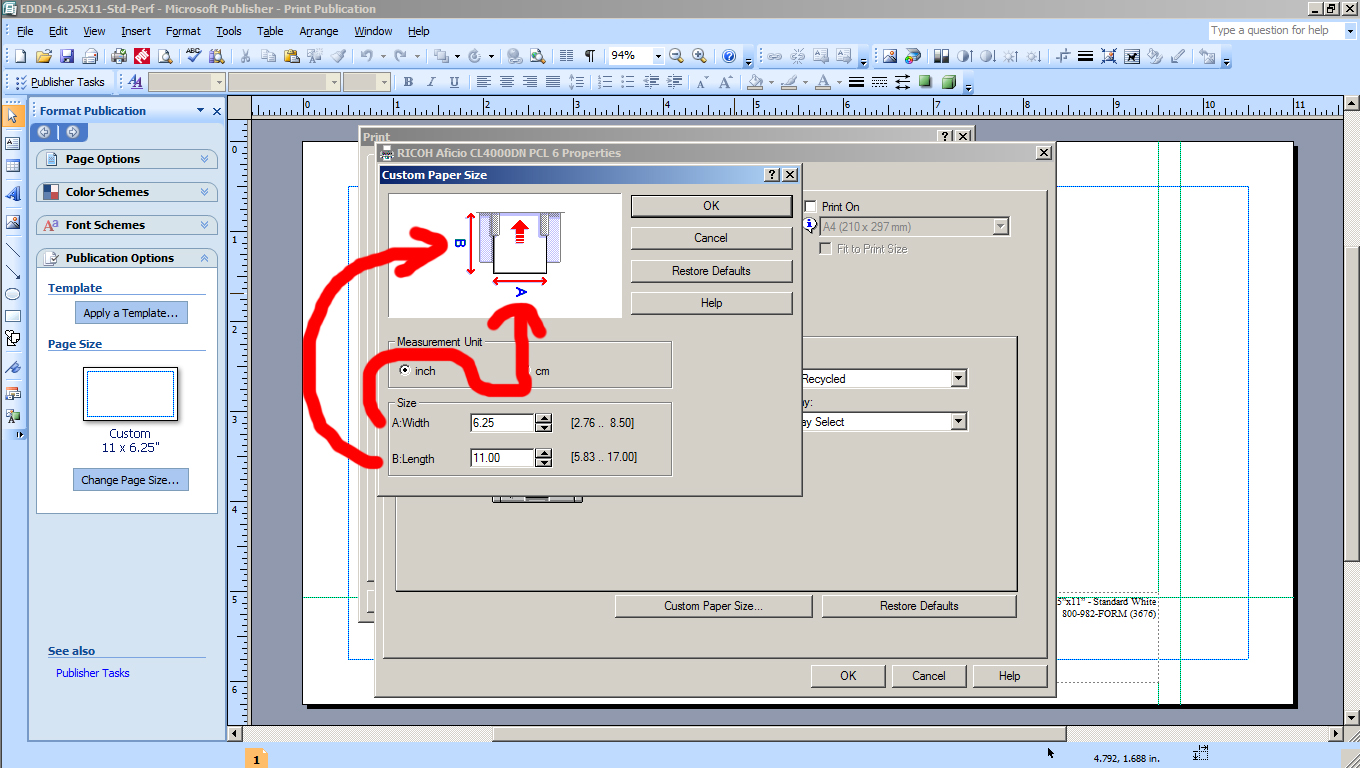
4a3. Make sure Inches is Selected.

4a4. Set Custom Size.
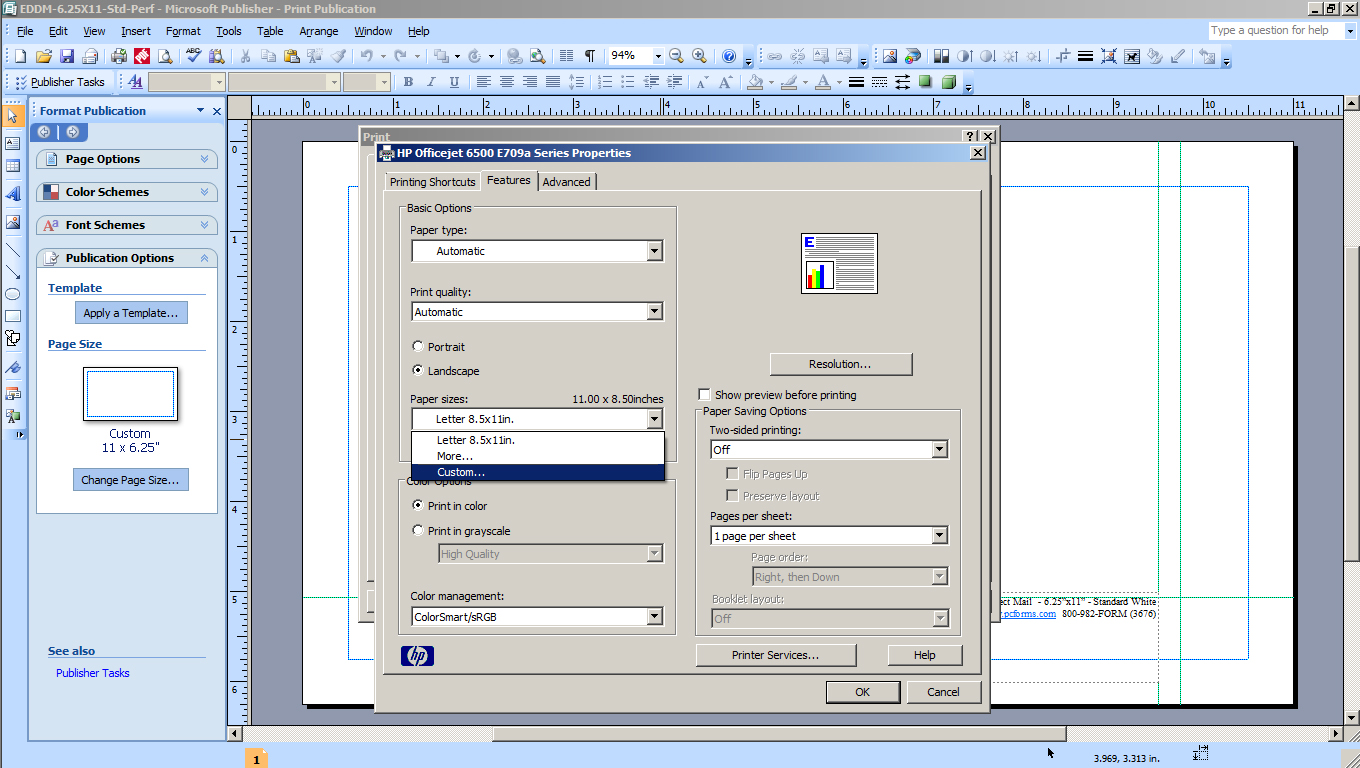
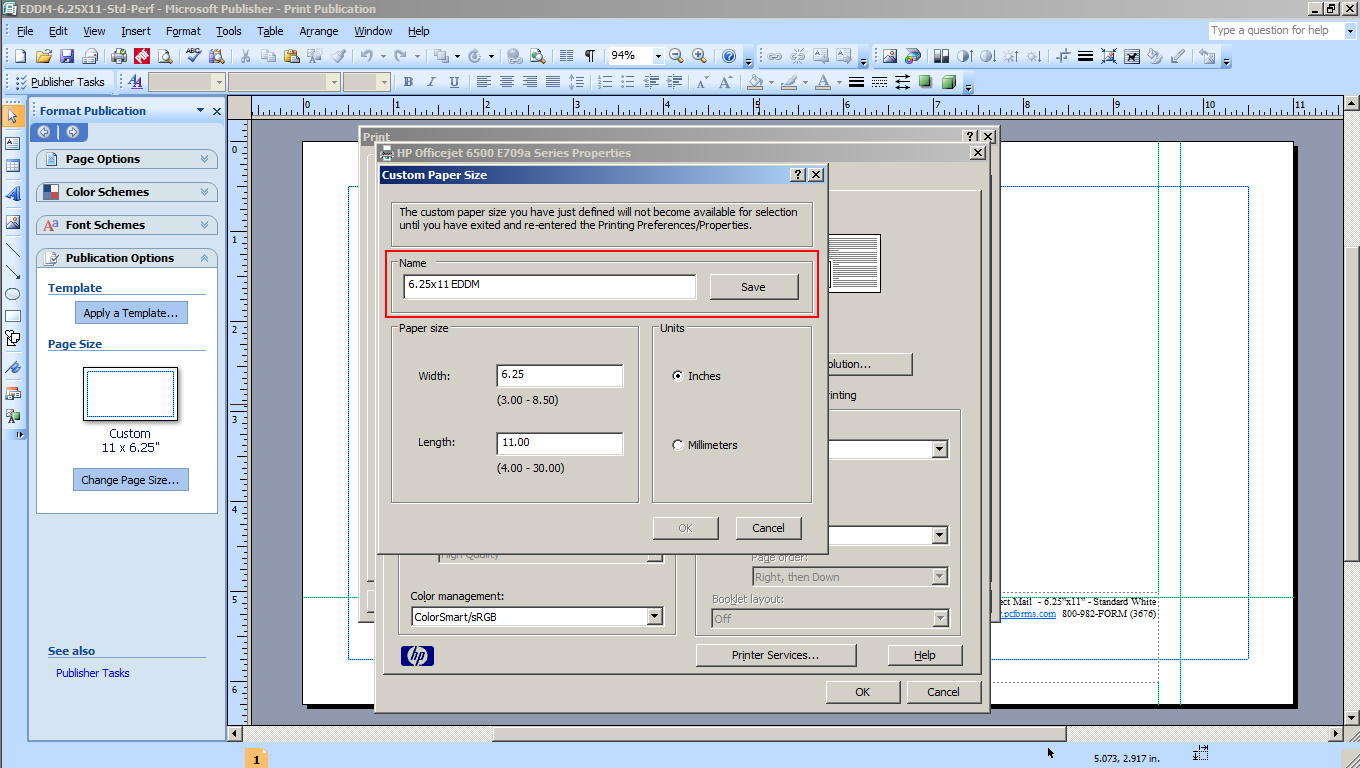
4b. HP Officejet 6500
4b1. Properties Home Screen.

4b2. Go to the Features Tab and choose Custom Size at the bottom of the Paper Size Drop Down.
4b3. You Must Name the Custom Size. Enter the Custom Size after You Have Named It.
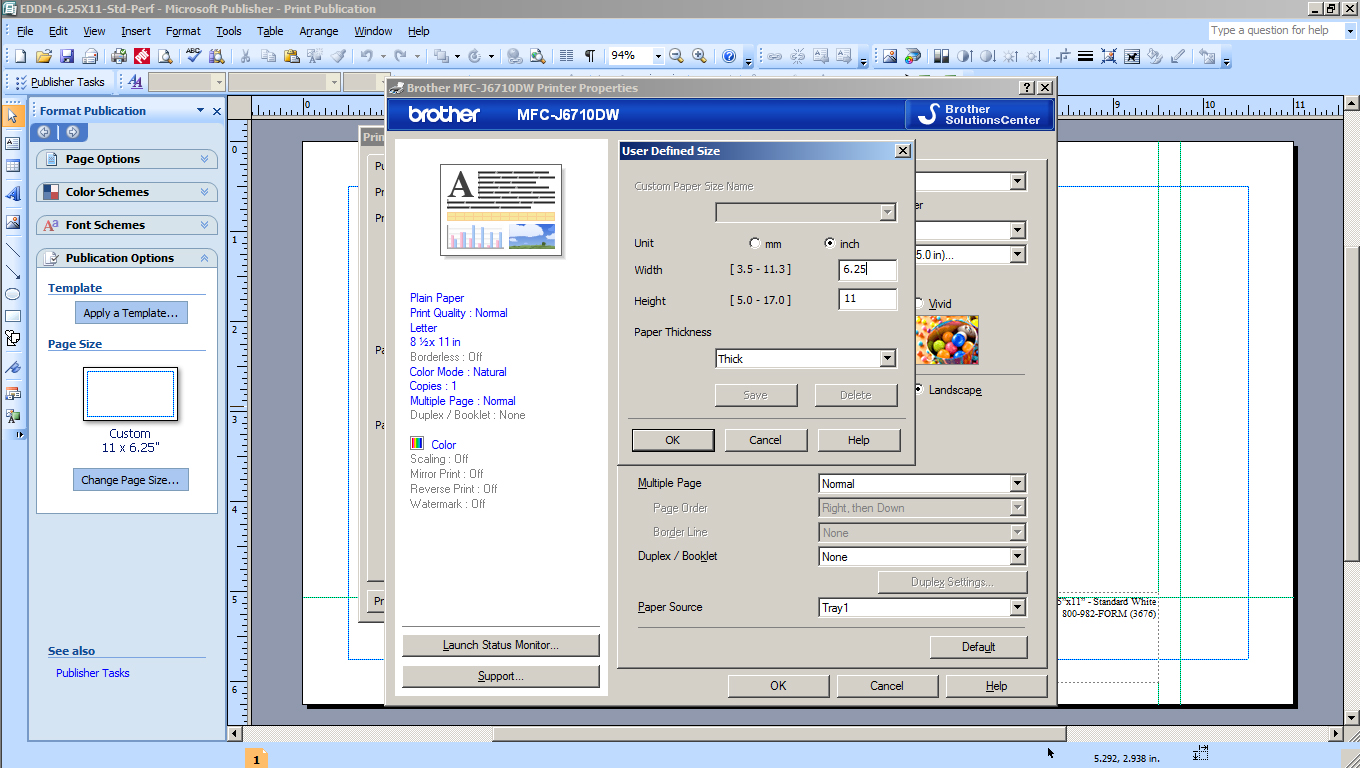
4c. Brother MFC-J6710DW
4c1. Properties Home Screen.

4c2. Select User Defined at the bottom of the Paper Size Drop Down.

4c3. Set the Custom Paper Size.
5. Hit All the OK’s and Print!
And that’s it! Close and print your great design!
Your printer may not be exactly the same as any of the three shown above, but you should have a better idea of how to find and set your Custom Paper Size. The option could be a large button or it could be located at the bottom of a Paper Size drop down. It may not even be titled “Custom Size!” The Brother shown above calls it “User Defined.”
How do you set your printer to print on a custom size sheet of paper?
Image: smemon