How To Create and Print Your Own Photo Postcards.
by Chelsea Camper | Last Updated July 19, 2019Are you a professional photographer in the making, someone who just wants to make a little extra money off their hobby, or are you a large photography agency looking for an alternative to outsourcing your postcard printing? No matter your level of expertise or intentions, you can easily print your own postcards right from home or the office.
We’ll show you how! In five easy steps you can be well on your way to printing your own postcards.
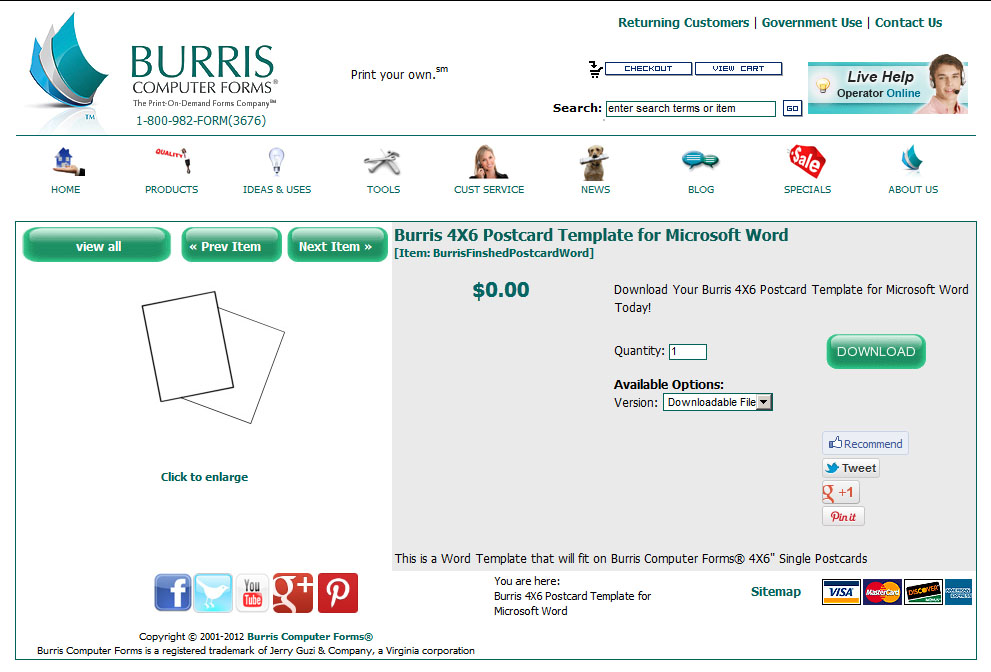
The first thing you’ll want to do is figure out what kind of  postcard paper you’ll want to use. There’s an awesome post on our blog about what each type of postcard paper is best for. For this example we’ll be using the Premium Matte Inkjet Cut Postcards (4×6) and be using the Burris 4X6 Postcard Template for Microsoft Word®.
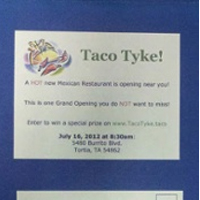
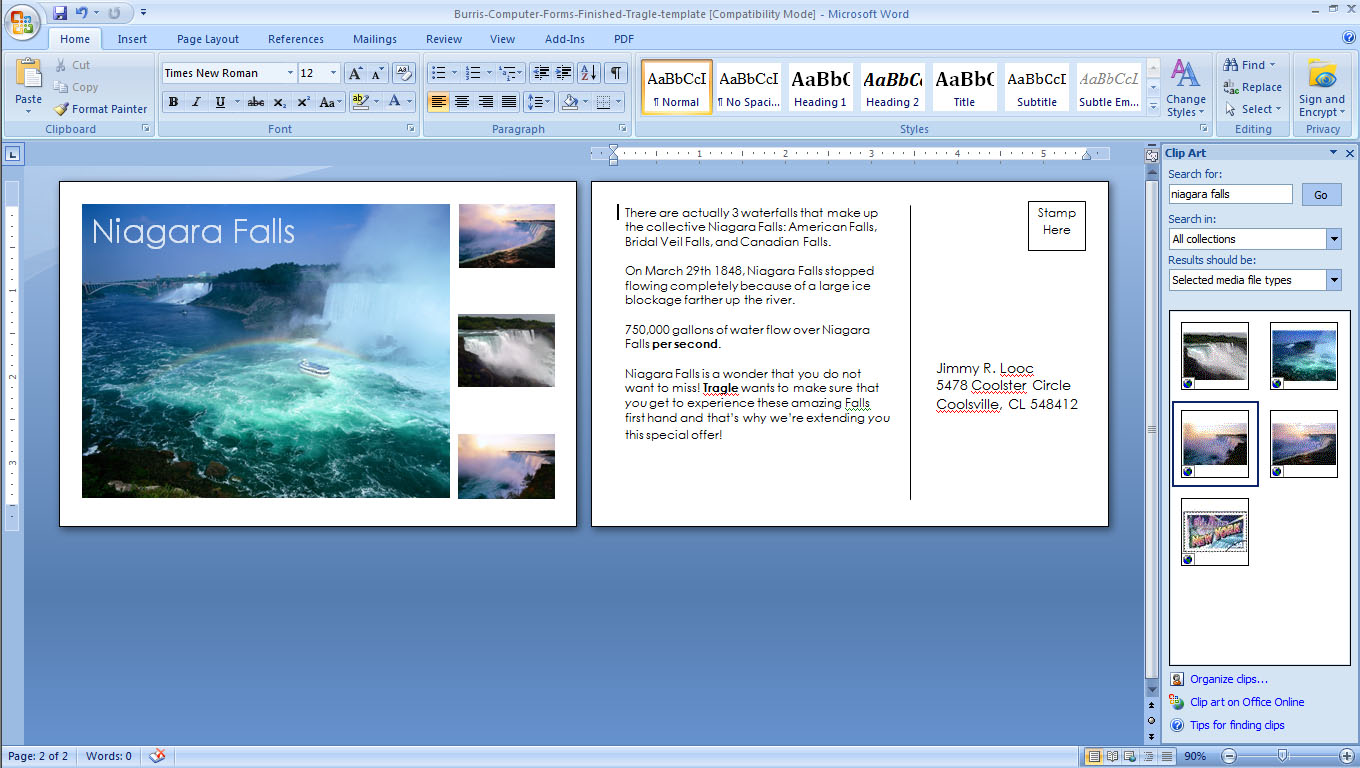
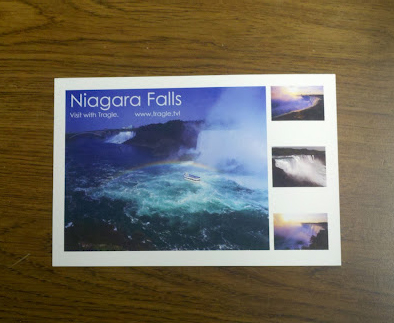
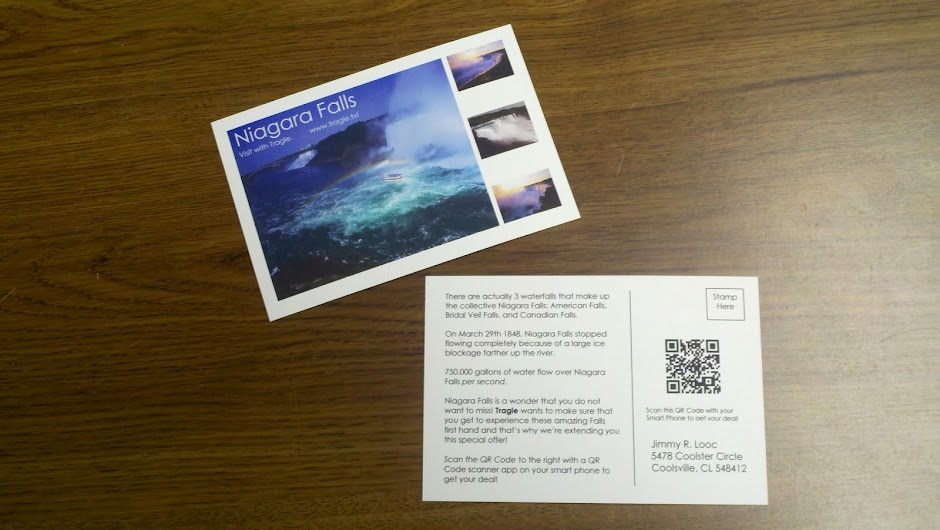
In this example we’ll be making postcards for a made up travel agency, “Tragle,” who is trying to promote Summer Vacations to Niagara Falls. They’re targeting people in the South and on the West Coast who may not have ever visited Niagara Falls.
Click on any image below to enlarge it in a new window/tab.
Step 1: Download the Burris 4X6 Postcard Template for Microsoft Word®.
To download, click the green “Download” button to on the right of the Burris 4X6 Postcard Template for Microsoft Word® download page.
Step 2: Open the Template in Microsoft Word®.
Your template might have automatically opened. If not, open the template in Microsoft Word®.
If you would like text/more image on the back, go ahead and make a second page. In this example we will be adding text to the back of the postcard so we will add a second page.
Step 3: Start designing!
In this step you get to add some color to those pages! If the margins are too large you can change them by going into your Page Layout options. For this example I’ve set all of the margins to 0.25″.
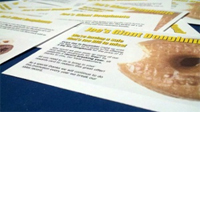
This example will utilize Microsoft Word® clip art stock, but you should definitely be using your own photographs.
*Hint: To position images exactly where you want them, change the Text Wrapping to “In Front of Text”. To position text exactly where you want it, use Text Boxes.
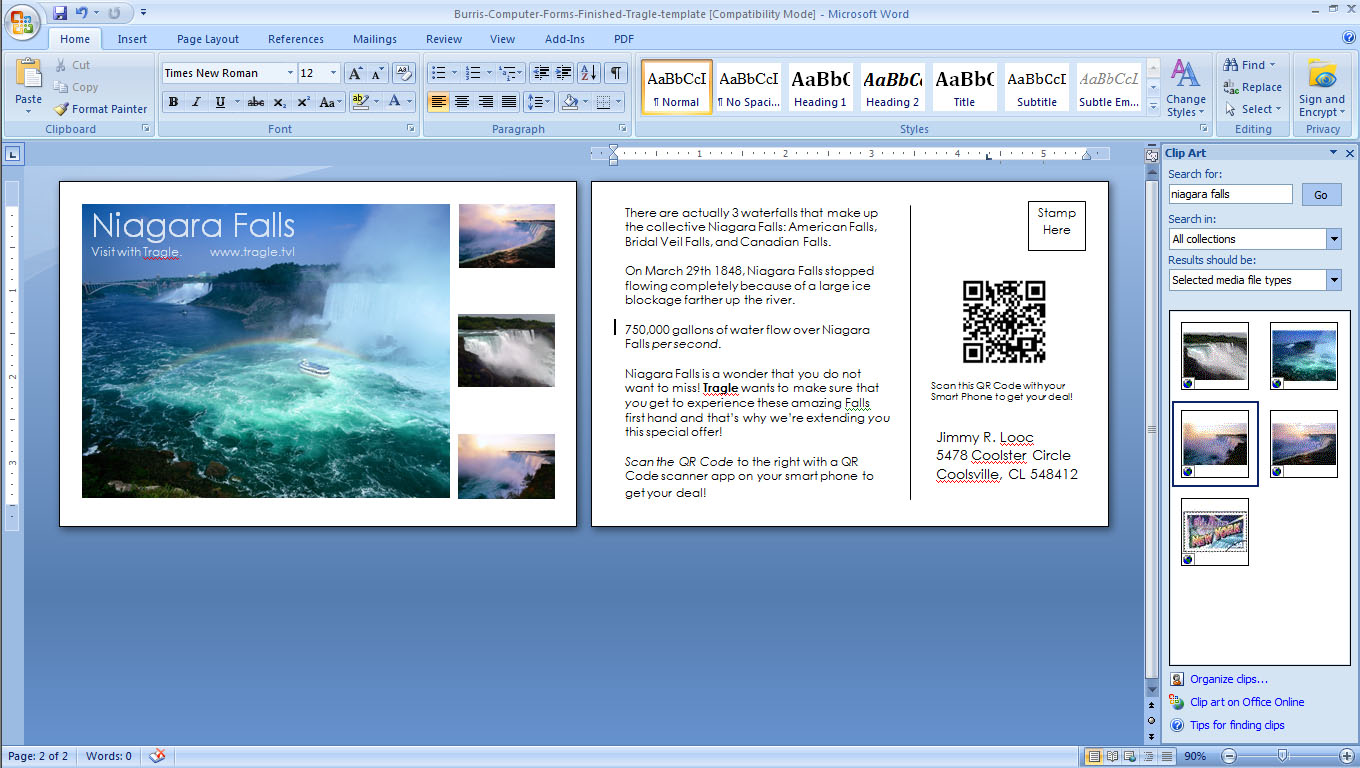
Step 4: Add a QR Code to link back to your business/site. (Optional.)
Since this company wants to provide a personal experience, they’re going to use a QR Code to give each person on their mailing list a unique coupon code. They also want to be able to gauge how well their postcard grabbed attention and created interest in the offer. To do that they’re going to use a QR Code to customize each user’s experience and track how many people are actually interested in the offer.
We will be creating a QR Code with BarCode.com’s QR Code Creator; It’s fast, clean, and easy to use. We’ve selected the option for a URL; Tragle is using personalized URLs (or PURLs) to give each customer their unique coupon code.

You can either save the QR Code and then insert it to your template or you can copy-paste the QR Code into Microsoft Word®. Don’t forget to tell your audience how to use their smart phones to obtain information from the QR Code.
*Hint: The QR Code will be large. Create a new blank page to insert the QR Code, resize the QR Code to the approximate size you want it, then set the Text Wrapping for it to be “In Front of Text.” This will make the QR Code easier to move around. Make sure you delete the blank page when you’re done.
Step 5: Print!
Now it’s time to print your beautiful creation! Simply load your printer up and start printing! It’s best if you have two sides to use a printer that auto duplexes. If you have two sides but don’t have an auto duplexing printer, print all of one side of your postcard, then flip them all over and print the second side.
Here’s how ours turned out:
How did yours turn out? Let us know!