How To Design and Print Your Own Bookmarks.
by Chelsea Camper | Last Updated February 29, 2024Printing your own bookmarks can be a great marketing tool, especially for schools and libraries. Bookmarks are a simple tool that your customers (or prospects) can use over and over again for years to come. Every time they use your bookmark they’ll be reminded of you and where they got it from, keeping your brand at the top of their minds.
So, let’s get started! Keep in mind that all images below can be enlarged by clicking on them.
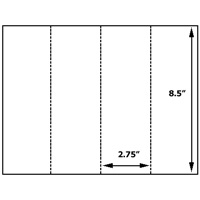
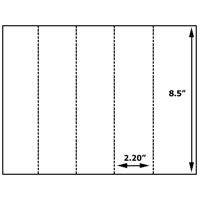
In this example we’ll be using the Premium Heavy Matte 4UP bookmarks and its corresponding bookmark template for Microsoft Word®. We will be using a made up store called Pratte’s Pies as the business making these bookmarks. Pratte’s Pies is a small bakery that, obviously, sells pies. They’re also a bookstore that resells books from fresh and new to old and well loved.
Pratte’s Pies also sells some of their books online through their website (www.prattes.pie) and on Amazon®. They’ve noticed that they get great reviews but few loyal customers online. To help keep their name in front of their customers, they’ve decided to start printing their own bookmarks and sending a bookmark out with every book sold online.
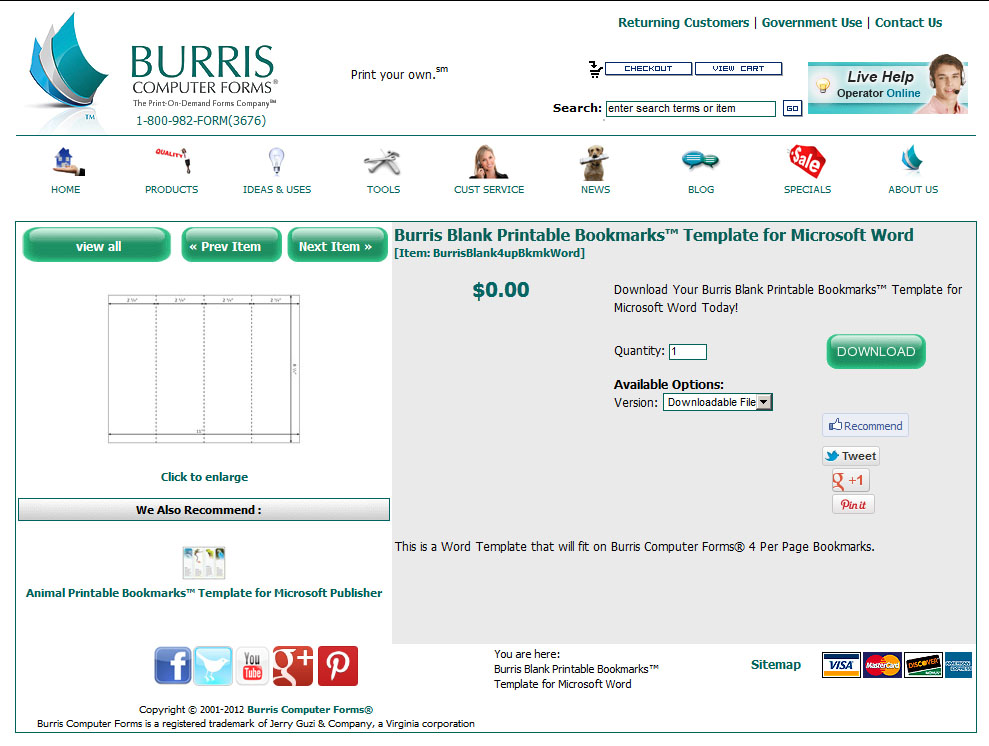
1. Download the template.
The first step is to download the bookmark template by clicking the green Download button on the right. In this example we’ll be downloading a blank template but Burris also offers a bookmark template with an animal design for you to edit and make your own.
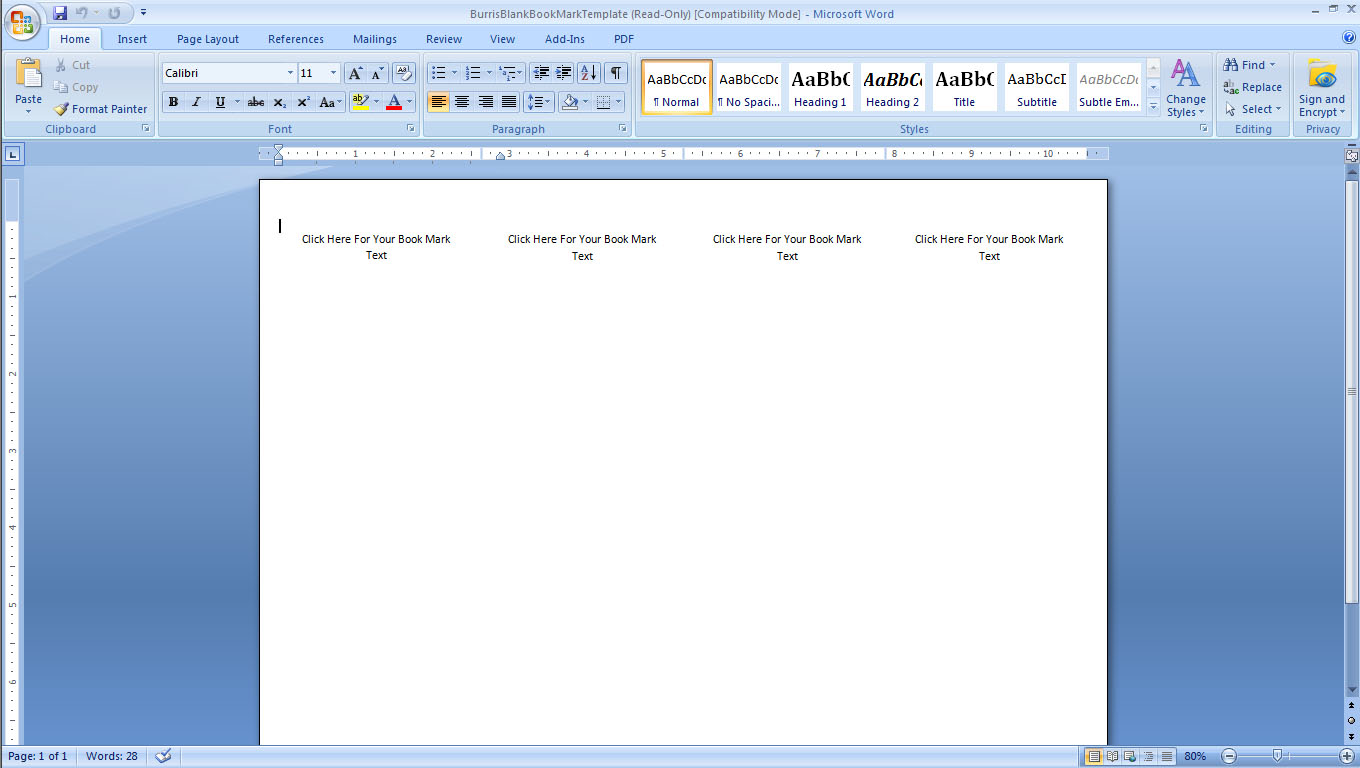
2. Open the template.
Next step is to open the template in Microsoft Word®. Your template may have opened automatically.
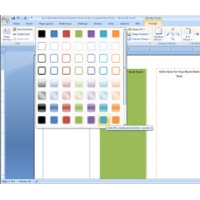
3. Design your bookmarks.
Now it’s time to let your creative juices flow! Make sure you include your logo and contact information in your design so that your customers don’t forget who gave them the awesome bookmark.
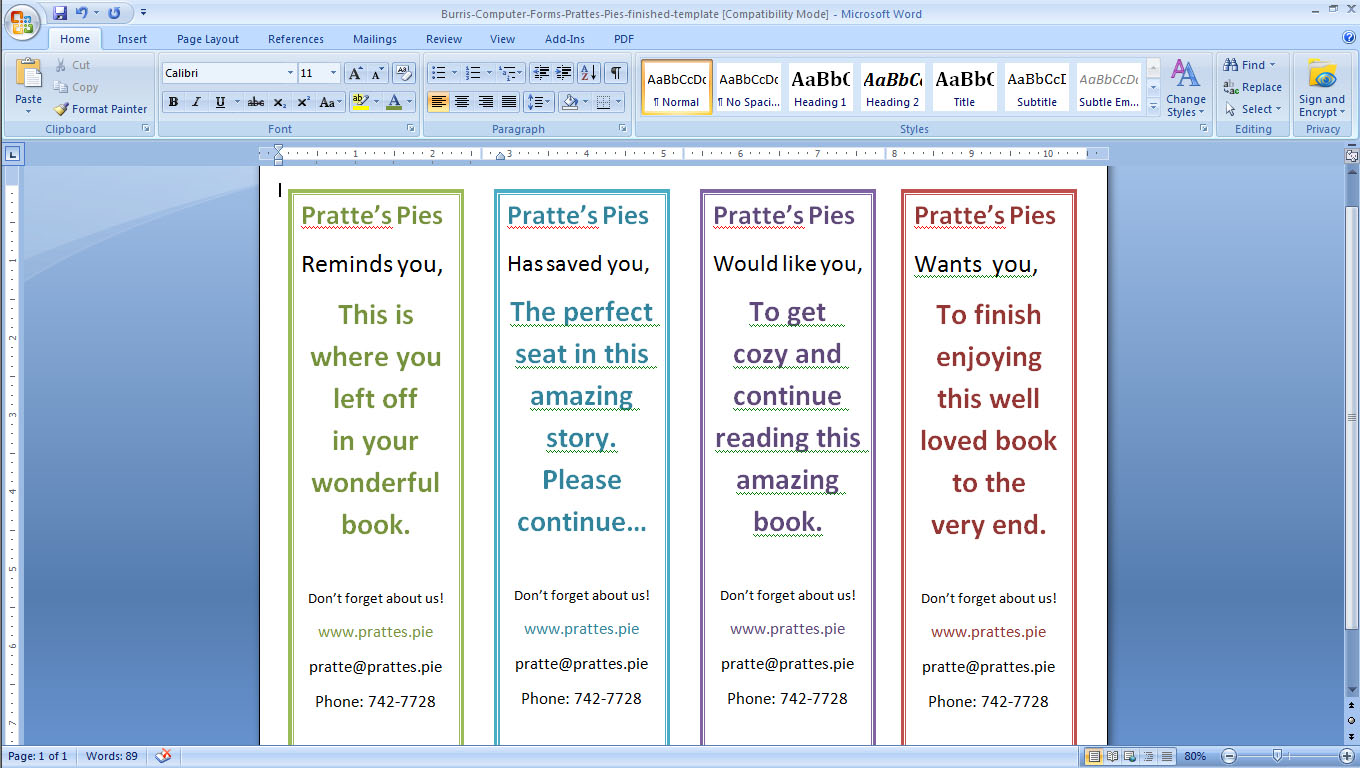
We’re going to add a back to these bookmarks so that it won’t matter which side of the bookmark the customer wants to use. To do that you insert a new page which may put the blank page above the page you have already designed. But that’s alright! Just select all of the text boxes on your designed page (click the first text box then hold Shift and click the other three boxes). Then copy and paste them to the blank page. You may have to move them a little to line them up with the text boxes on the page that’s already designed. (There is a Position tool under the Format tab for Microsoft Word® 2007.
…Or you can just download the finished Pratte’s Pie template and have everything lined up just right for you. (:
You can use either page for your front or back of your bookmarks. For this example we’re going to use the second page as the back of our bookmarks.
We reversed the colors on the back page so that the colors will be the same on both sides of each bookmark once printed.

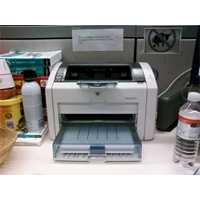
4. Print!
Now it’s time to print your bookmarks! Don’t forget to show us how yours turned out. Here’s how ours came out:
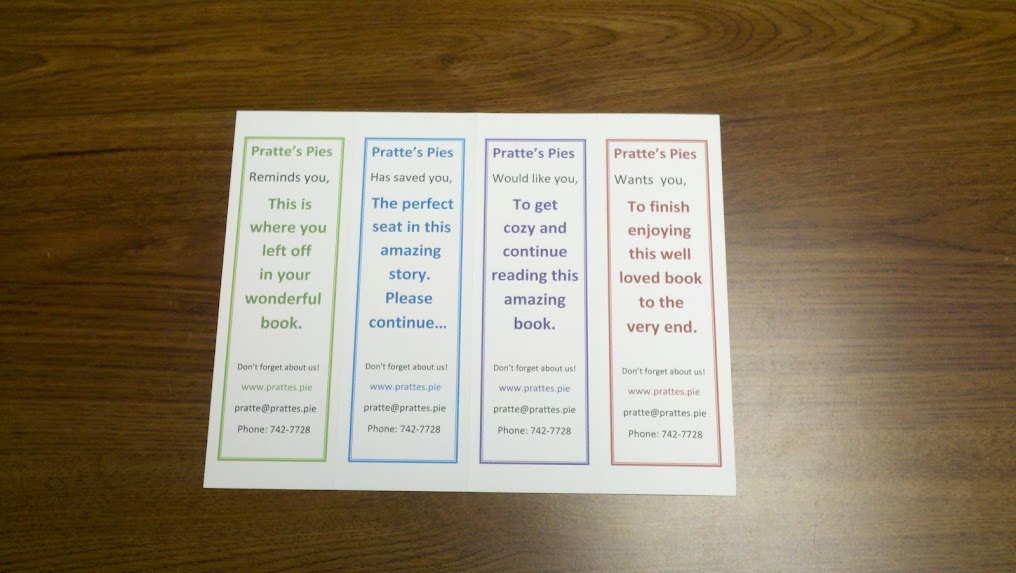

How did yours turn out?

Microsoft Word® is a registered trademark of MICROSOFT.
Amazon® is a registered trademark of AMAZON.